Introduction
A great dessert table looks effortless. That’s the point. Guests arrive, see it, and feel immediately welcomed by its abundance and beauty — not aware of the planning and care that went into creating it.
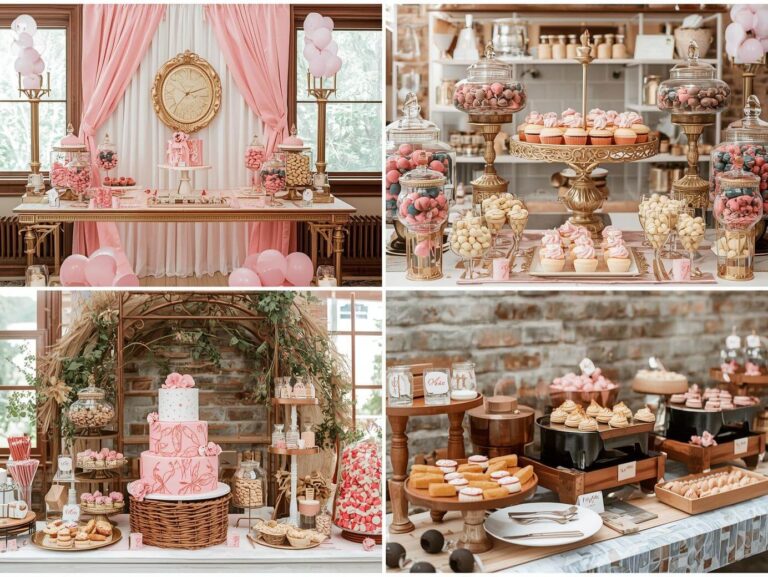
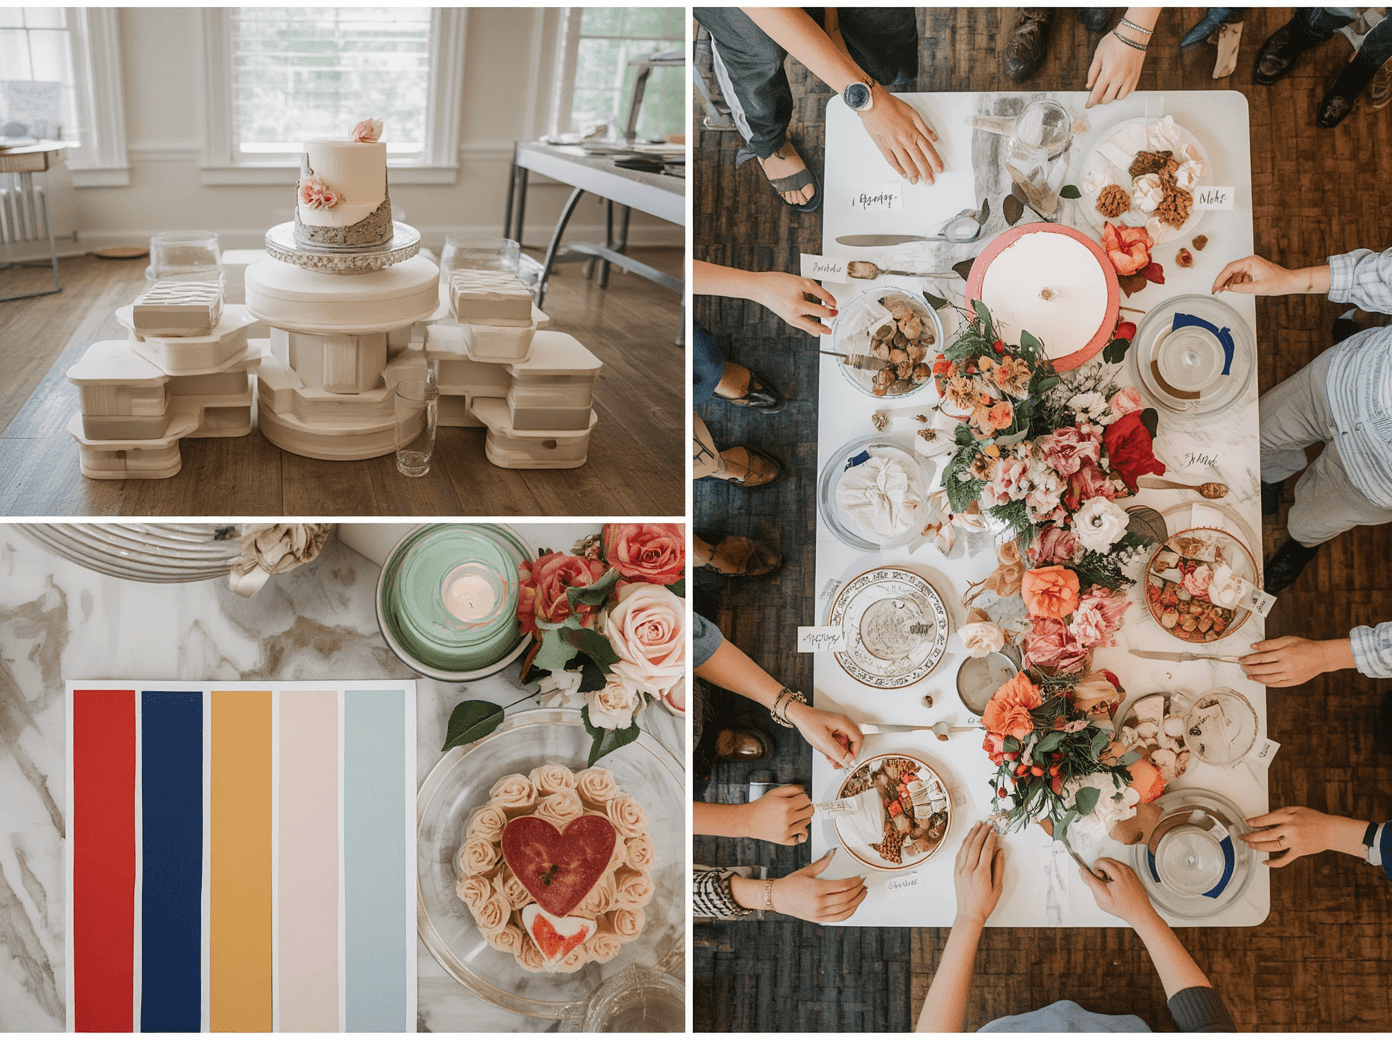
Behind that effortlessness is a set of clear principles that, once understood, make every dessert table you ever create look more intentional and more beautiful. The color palette that connects every jar of candy to the cake to the linen. The height variation that creates visual movement. The labels that add both clarity and charm. The abundance that communicates generosity.
This complete guide will give you those principles plus a step-by-step approach to building, styling, and photographing a dessert table that genuinely stops people in their tracks. 🍬
📐 Dessert Table Planning Essentials
- 📏 Table Size 6-8 foot table minimum for a full display — wider is always better
- 🎨 Choose Your Palette First Everything else flows from the color decision — FREE
- 📝 List Your Items Decide what’s on the table before buying anything — FREE
- 📐 Plan for Height Variation Note which items will be tall, medium and low — FREE
- 📸 Sketch the Layout A simple diagram saves enormous time when building — FREE
- 🌸 Add Non-Edible Elements Flowers, signs, props — not everything has to be food — $20-$60
- 🍽️ Plan the Linens Tablecloth color matters as much as the food — $15-$40
- 🏷️ Plan the Labels Handwritten, printed or chalkboard — $5-$15
🏗️ Building the Display: Step by Step
- 🧱 Step 1: Lay the Tablecloth Pressed and centered — FREE
- 📦 Step 2: Place Height Risers Boxes, books or stands before any food — $10-$30
- 🎂 Step 3: Place the Focal Piece The statement cake, always first and center — varies
- 📐 Step 4: Work from Center Out Fill symmetrically from the centerpiece — FREE
- 🍬 Step 5: Fill Jars and Vessels All candy containers filled to the rim — varies
- 🌸 Step 6: Add Flowers One or two arrangements for natural beauty — $20-$60
- 🏷️ Step 7: Place Labels At the front of each item, facing guests — FREE
- 📸 Step 8: Check from Overhead and Front Adjust gaps and heights — FREE
🎨 Color Coordination Strategies
- 🎨 The 3-Color Rule One primary, one secondary, one neutral — FREE
- 🍭 Color-Sort the Candy Only the right color candy for each jar — FREE
- 🍰 Coordinate the Frosting Cake and cupcake colors match the palette — FREE
- 🌸 Flowers in the Palette Blooms that match exactly or complement — $20-$60
- 📋 Label Color Coordination Tags, chalkboards or cards in the palette — $5-$15
- 🖤 The Linens Anchor Everything Wrong linen color undermines everything else — $15-$40
- ✨ Add One Metallic Accent Gold or silver as the connective element — $5-$15
- 🌿 Greenery is Always Neutral Eucalyptus or herbs never clash with anything — $10-$25
📸 Photographing the Dessert Table
- 📸 Shoot Before Guests Arrive The table is at its most beautiful before it’s touched — FREE
- 🏔️ Shoot from Three Angles Overhead, eye level and three-quarter — FREE
- 💡 Natural Light Only Position the table near a window for the best results — FREE
- 🌸 Add a Final Flower One fresh bloom placed last for the photo — $2-$5
- 🚫 Remove Any Labels That Look Wrong Check them in the photo — FREE
- 📱 Share Immediately The table deserves to be seen before it’s eaten — FREE
Conclusion
A perfectly styled dessert table is one of the most photogenic and crowd-pleasing elements you can add to any party. It rewards the investment of planning and care with a visual impact that guests respond to immediately and remember long after the sweets are gone.
Follow the principles. Start with the palette. Build the heights. Fill generously. Add the flowers last. And then step back and look at what you’ve created — because you’ve built something genuinely, undeniably beautiful, with intention and your own hands.
That is always worth celebrating. 🍬