Introduction
The DIY balloon garland has become the signature decoration of modern celebrations — the element that appears in virtually every beautiful party photo, the backdrop that anchors every photo booth, the installation that guests point at and immediately ask: did you make that yourself?
And here’s the thing: you absolutely can. The organic balloon garland that looks like it was created by a professional events team is, in almost every case, made with a roll of plastic decorating strip, a hand pump, and a few hours of patient, meditative work by someone who learned exactly what you’re about to learn.
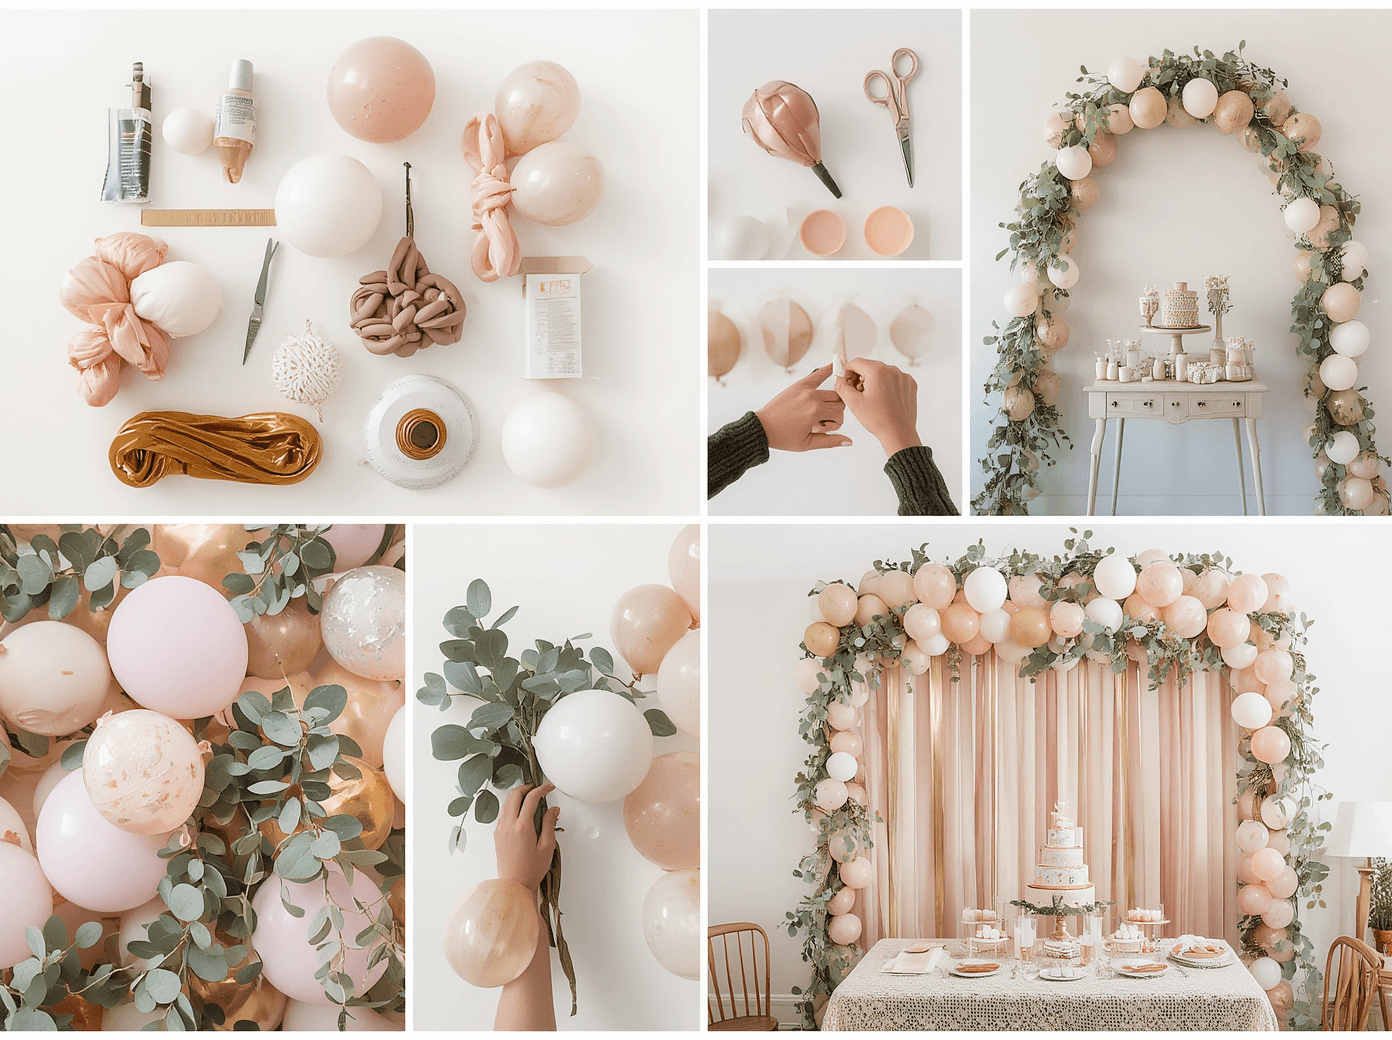
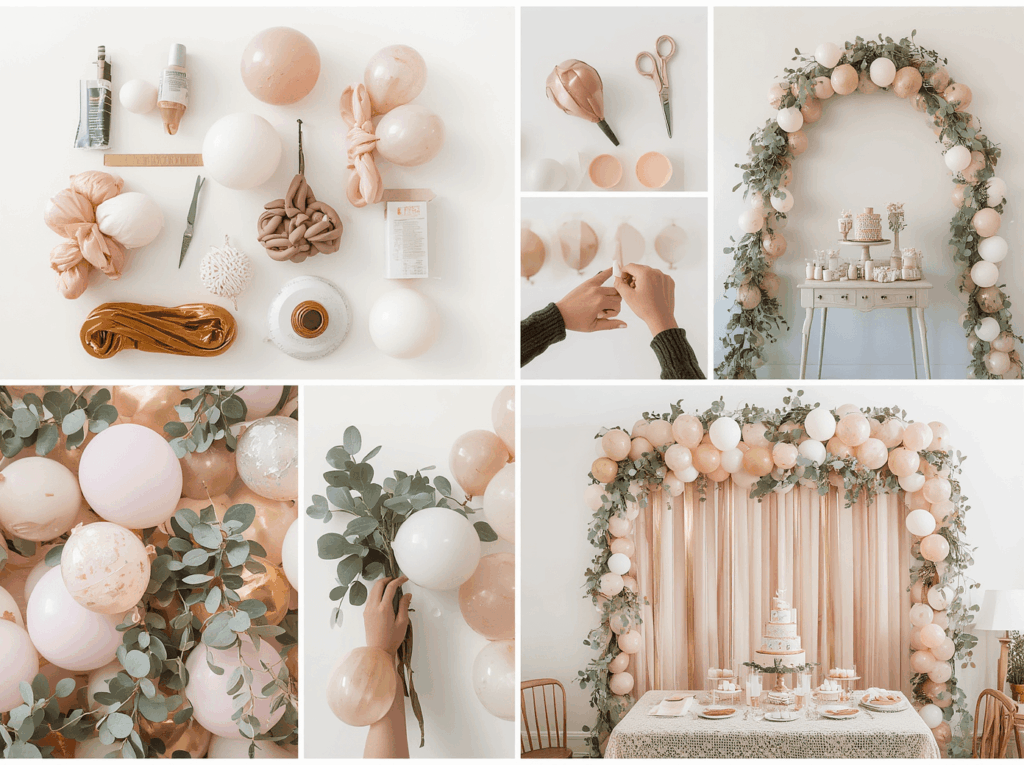
This complete tutorial will walk you through every step — from choosing your color palette to inflating your balloons to mounting and styling the final garland. By the end, you’ll have everything you need to create a balloon garland that genuinely stops people in their tracks. 🎈
🛒 Materials You Need
- 🎈 Balloon Decorating Strip The plastic strip with holes that holds everything together — $3-$8
- 🎈 Balloons in 4 Sizes 5 inch, 9 inch, 11 inch and 12 inch for organic texture — $15-$30
- 🎈 Balloons in 4 Coordinating Colors Stick to a clear palette — $15-$30
- 🔧 Hand Balloon Pump Never blow by mouth — a pump saves hours — $5-$15
- 📌 Command Hooks or Fishing Line For mounting without damaging walls — $5-$15
- 🌿 Greenery or Flowers Eucalyptus or faux greenery for weaving through — $10-$25
- ✂️ Scissors For trimming the decorating strip to length — FREE
- 🖊️ Balloon Tying Tool Optional but saves sore fingers — $5-$10
📋 Step-by-Step Balloon Garland Tutorial
- 📐 Step 1: Decide on Size and Measure Measure the space you’re decorating — FREE
- ✂️ Step 2: Cut Decorating Strip to Length Add 20% extra for curves — FREE
- 🎈 Step 3: Inflate Balloons in All 4 Sizes Keep groups separate by color and size — FREE
- 🔄 Step 4: Tie Balloons in Pairs Same-size balloons tied together at the knot — FREE
- 🌀 Step 5: Twist Pairs Together Two pairs twisted = one cluster of 4 — FREE
- 📌 Step 6: Push Clusters onto the Strip Through any available hole — FREE
- 🎨 Step 7: Alternate Colors Intentionally No two same colors touching — FREE
- 🔢 Step 8: Vary the Sizes Throughout Big and small clustered together = organic look — FREE
🎨 Color Palette Guide
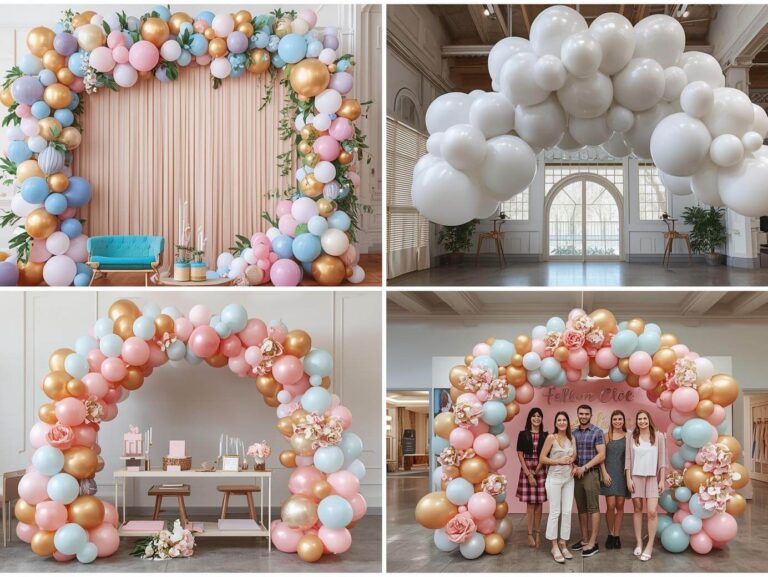
- 🌸 Classic Blush & Gold Blush, white, cream and gold — timeless — $20-$50
- 🌊 Ocean Blue Navy, sky blue, aqua and white — $20-$50
- 🌿 Botanical Green Sage, hunter green, white and champagne — $20-$50
- 🌈 Rainbow Six colors in sequence — classic and vibrant — $20-$50
- ⬛ Black & Gold Dramatic and sophisticated — $20-$50
- 🌸 Spring Garden Lavender, peach, mint and white — $20-$50
- 🎃 Halloween Orange, black and deep purple — $20-$50
- 🎄 Christmas Red, green, gold and white — $20-$50
✨ Pro Tips for a Perfect Garland
- 🔄 Vary Size Constantly Organic garlands use mixed sizes throughout
- 🌿 Add Greenery Last Tuck stems into gaps after the main garland is done
- 🎈 Under-Inflate Slightly Softer balloons are more flexible and look more organic
- 📸 Build on the Floor First Lay it out flat before mounting to check color balance
- 🕐 Allow 2-3 Hours For a 6-8 foot garland — don’t rush
- 🌡️ Never Build More Than 2 Days Ahead Balloons deflate and lose lustre — $0
Conclusion
Making a balloon garland from scratch is one of those deeply satisfying creative acts that produces something genuinely beautiful from the most humble materials. By the time you’ve finished your first one — stepped back, looked at the lush, organic arch of color you’ve created with your own hands — you’ll understand why this has become the signature decoration of an entire generation of party planners.
It’s not difficult. It’s just patient. It just requires a clear palette, good materials, and the willingness to trust the process until the final result emerges.
Now go make something beautiful. Your garland is waiting. 🎈